Saturday, July 30, 2011

Layout_Assignment 3


Hello everyone, what I have to update now is show you how the layout of the "TIPS" part look likes in our group website.

Click on the "" and you will see the picture below.


On the 'TIPS' page, there will show the descriptions of each tip. For examples like the best time to visit, suitable clothing, and also the currency and credit card in order to prevent something happen that will spoil the travel's mood.

Below are the description that i drafted out for the tips :

· The best time to visit

The monsoon season peaks are between November and March every year. Therefore, you can expect more rain and rough seas cause the resorts will typically closed during the time from the end of October through end of February.

Thus, according to the rate of resorts, the price of peak season between July and August will arise but the rate will decline when the off-peak season.

· Clothing

The clothing issue is a very important part to remind the tourists that Terengganu is an Islamic state and it is the best to dress modestly when in doubt to avoid any sensitive issues. Even thought there are no dress restrictions on the Perhentian Island, but the casual clothing would be more suitable.

· Currency and credit cards

The Malaysian currency unit is RM (Ringgit Malaysia). For foreign tourists, they can converted the currency at banks and money changers at the airport in order to prevent any financial problems because there are no banks or ATMs on the island. Apart from this, visitors are not allowed to take more than RM1000 in Malaysian currency out of the country and no more in foreign currency than was brought it. Some resorts and dive centers accept VISA and MasterCard but it is the best to have enough cash with you to cover your expenses while at the island.


Monday, July 25, 2011

Fifth Step_Advanced Layering


I'm here going to update about the fifth step of Assignment 1 which is called Advanced Layering.

This is my last edited e-wallpaper which done by last week.


By the way, since I felt that the colour of the building is quite dark. Therefore, i planned to change the light effect of building.

First of all, click FILTER ---> RENDER ---> LIGHTING EFFECT


Select the CROSSING style of lighting effect and also adjust their properties


This is the outcome of the adjusted lighting effect of building


Besides that, we also can edit the e-wallpaper by using the vanishing point.
For example, I want to add a MMU LOGO and paste it onto the FOM building. Below are the steps of vanishing point. Before that, I use QUICK SELECTION TOOL to cut the MMU logo and drag it into the e-wallpaper.


Right click the new MMU logo from the layer panel and select 'Convert to Smart Object'


Right click the new MMU logo from the layer panel again and click the 'Rasterize Layer'


Then click the SELECT ---> ALL


Click EDIT ---> CUT


After 'CUT' it, the new MMU logo will disappear!!!


Zoom in the building and click FILTER ---> VANISHING POINT


Use the point to select the building's part that you want and click 'OK'


Press Ctrl+V (Windows) or Command+V (Mac OS) to paste the logo onto the
perspective plane, and drag it into position on the front of the building


Press Ctrl+T (Windows) or Command+T (Mac OS) to access the free transform
handles. Drag the handles to adjust the logo so that it matches the perspective of the building.


You may also press the Alt (Windows) or Option (Mac OS) key, and drag a cloned copy of the
logo directly upwards and onto the top of the box.

Even thought this is add some effect on the FOM building, but at last i chose not to put it on my e-wallpaper because it look not very match it....xDDDD

Between, this is my final e-wallpaper for this assignment. =)))


Saturday, July 16, 2011

Fourth Step_Retouching and Enhancing


Hi....I'm here again!!! =)
Topic of today is 'Retouching and Enhancing' and now I want to explain further what is the topic about.

This is the final e-wallpaper that I had submit last time and let's you guys to see the different compared with the addition of RETOUCHIN
G and ENHANCING


First, I planned to add some lighting effect into the building of e-wa
llpaper. Therefore, I click 'FILTER' ---> 'RENDER' ---> 'LIGHTING EFFECT'


Adjust the components of lighting effect like INTENSITY, FOC
US, GLOSS, MATERIAL, EXPOSURE and AMBIENCE.


Select the light's colour that you prefer and click OK


The LIGHT of building is changed


Next, I want to change the background colour of the MMU LOGO...=)
So, select the 'IMAGE' ---> 'ADJUSTMENT' ---> 'REPLACE COLOUR'


Adjust the 'HUE', 'SATURATION', and also the 'LIGHTNESS'


Besides that, I also change the layer style of MMU LOGO
Select the LAYER ---> LAYER STYLE ---> BLENDING OPTIONS


Add in some features like Inner Shadow, Outer Glow, Contour of Bevel and Emboss and also adjust the opacity to 80%


Select the IMAGE ---> ADJUSTMENT ---> PHOTO FILTER


Use the COOLING FILTER (80) and 10% of DENSITY


Other than that, add in some SHADOW/HIGHLIGHT by click the IMAGE ---> ADJUSTMENT


Adjust the amount of SHADOWS and HIGHLIGHTS into 10%


Finally, the process of RETOUCHING and ENHANCING are finished and also DONE!!!!
This is my latest E-WALLPAPER ^^

Sunday, July 10, 2011

Selection Tools @ Assignment 3


Hey guys....today is Sunday...so wish everyone have a NICE DAY ya....^^
If feel free then welcome to visit my blog ya =)
Today i gonna to share about my past experience which I h
ave shar
ed before....
Below is the link of my past post that related to this post.


First of all, we have to choose some images for this assignment be
fore we toward next step.
Well, my task at this assignment topic is to search some TRAVE
L TIPS images but actually not many images that related to TRAVEL TIPS =(((

OKAY....come back to our topic. After we chose the images, then
we ha
ve to crop the part of the image that we want to use.
First, zoom in the image and crop the part that you wan into a new A4 paper by using the 'QUICK SELECTION TOOL'

Use the MOVE TOOL to move the cropped part into the new A4 size paper...


Change the layer properties of the images which located on the right hand side of the screen..


Then use the same steps which mentioned at above to crop and drag the other images into the paper... =)


This is the what i have done for the first step of assignment 3 =)

Friday, July 8, 2011

Proposal_Assignment 3

Hello everyone, I'm here again =))
This time i would like to share about what I done last week in my Assignment 3. First of all, my assignment topic is ISLAND which had chosen by our tutorial leader. So, each of the group of the section had to chose 1 ISLAND in Malaysia to promote it. Therefore, our group had chosen the 'PERHENTIAN ISLAND' as our topic and I responsible in MEMBER'S RESPONSIBILITY in ASSIGNMENT 3.

Project Coordinator
NG SOON YONG - 1101106574

She is the one who make final decision after viewing every proposal that provided by others members. She also responsible for divide the specific tasks to every members based on the strengths and weakness.

Head Designer and Programmer
NG SOON YONG -1101106574
K.DEEBAN -1061103474

The responsibility of them are mainly lies in designing and programming the website, after discussion with other members, they will examine in detail every aspect of any designing and programming of website to ensure that the website is interesting and attracting.

Technical Team
NG SOON YONG -1101106574
K. DEEBAN -1061103474
IVIN TAN SU WEI -1091106470
SHAW HUI MOON -1101108085
LEE YAN YEE -1101108768

In this website, all the group members will be taking part the technical part. As what we see from the website, the detailed information, research, photo graphics and so on is not fraud.The process from collect the data until the post out the data is tough and difficulties will arise.

Photographic

SHAW HUI MOON -1101108085

She will be responsible for searching, and decide the part of all photographs and images that using for the website. Futhermore, she also has to keep searching and the new picture of promotion in order to update the website. Nice and high quality of picture can attract more peoples to visit out website and also customers to travel around the island.

Researcher
IVIN TAN SU WEI -1091106470
LEE YAN YEE -1101108768

The responsibility of them is to collect and gather more data about the beach in order to provide more information for every reader of our website. They will keep on searching and update the latest events or funcionts in peak season. They also are the one who update the detail of promotion of package for family and company.

Support
NG SOON YONG -1101106574

She is responsible for compling a support channel for our customers. Once we receive any comments or quesitons that asked by our customers or readers, she will be the representative and spokesperson to answer and reply the questions.


Besides that, I also done one of the parts of the website which called as SUB-TOPICS. The SUB-TOPICS included ACTIVITIES in Perhentian Island, TRAVEL TIPS, RESERVATION, RESORTS, BEACH, and also TOUR GUIDE PACKAGE while I'm in charge the first 4 topics.

ACTIVITIES

Perhentian Island are the ideal place to relax and forget about your cares and most people that visit here laze away their days in the sun. These islands have been announced as a marine park and as such littering, fishing and collecting of any marine life is strictly prohibited. For those tourists who are like to play sport game, they can snorkel, scuba diving and jungle trekking at Perhentian Island.

-Snorkel
explore on the shark point, teluk pauh and tanjung basi.
see the turtle, some black tip reef sharks and abundance of colourful coral all in one trip.

-Scuba Diving
top spots at tokong laut and the sugar wreck.
there are pointed rock protruding from the seabed, surrounded by all kinds of coral and different species of fishes.

-Jungle Trekking
it is a place that allow you to explore the diversity of plant life in perhentian island.


Travel tips

The travel tips is to provide to reader so they will concern about their safety while travelling in the island. we will give out some tips on what the tourist have to be prepared on so that they can avoid from meeting any accident.we will tell the readers when is the best time to visit in our island, what is the suitable wear at the island and the currency and credit cards which have to be prepared for buying anythings.


Resort

It is very important to provide the informations for a resort, this is because thats the only place which provide for tourist to relax or stay over night in our island. we will try to introduce the most famous resort to our readers.we will also giving the normal price resort for the readers who need to do survey on choosing the reosrt to stay.

Reservation

The tourist can make any reservation of tour guide and transportation in order to let the tourists won't feel lost when travel around perhentian island. the tour guide will explain the history of the the island.the reservation of transportation will help the tourist especially the foreign tourist to be more convinient on visiting the island, they wont worry about the transportation since they reserve from us.

Sunday, July 3, 2011

Third Step_Layering


Hello guys~~~Im here to continue explain the next step of e-wallpaper which is called LAYERING.
First of all, open a new A4 size paper and also the 5 images that I combined...
Second, set the background colour of the e-wallpaper : click ' PAINT BUCKET TOOL ' ---> ' SET FOREGROUND COLOUR ' ---> 'OK'
I choose PURPLE colour as my background colour =)

Third, drag the 'MMU Mascot' into the purple A4 paper

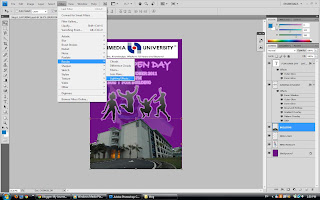
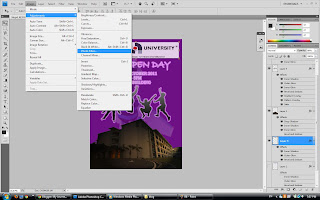
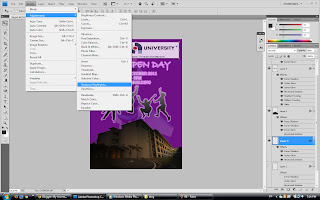
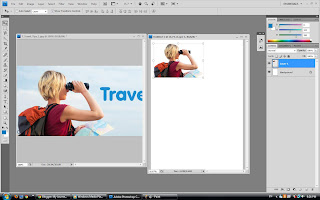
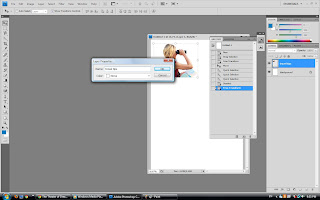
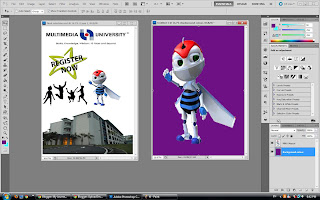
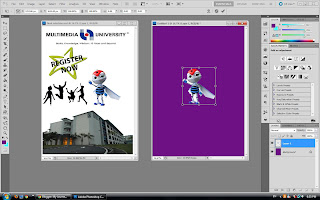
Enlarge the size of 'MMU Mascot' by press the 'SHIFT' and use mouse to enlarge the
size and
click ' ENTER' to make it look clearly

Click ' LAYER ' ---> ' LAYER STYLE' ---> ' BLENDING OPTION ' to adjust the
transparent of 'MMU Mascot' image


Adjust the 'OPACITY' to 40% with 'NORMAL' blend mode from the 'GENERAL BLENDING'


Fourth, drag the 'MMU logo' and place it at the top of the paper while 'FOM Building' at the bottom of paper


Fifth, drag the 'JUMPING STUDENTS' to the paper and enlarge it by using the s
ame method as mentioned at above


Sixth, go to the 'LAYER' ---> 'LAYER STYLE' ---> 'BLENDING OPTION' again....


I apply and edited 'INNER SHADOW, OUTER GLOW, INNER GLOW, BEVEL and EMBOSS, SATIN, GRADIENT OVERLAY and PATTERN OVERLAY' on the image.


Seventh, using the 'HORIZONTAL TYPE TOOL (T)' to type out the info of 'FOM OPEN DAY'


Edited the 'OUTER GLOW and INNER GLOW' from the 'LAYER STYLE'


This is the outcome of my E-wallpaper for step 3....=)