Topic of today is 'Retouching and Enhancing' and now I want to explain further what is the topic about.
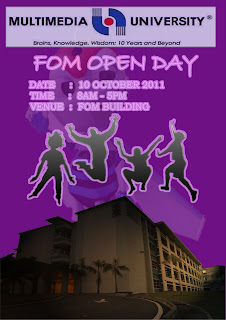
This is the final e-wallpaper that I had submit last time and let's you guys to see the different compared with the addition of RETOUCHIN
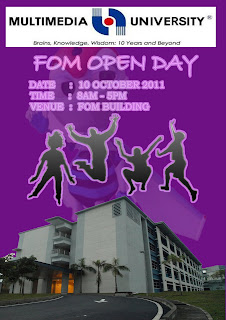
G and ENHANCING
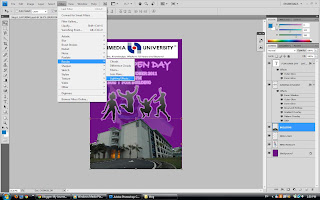
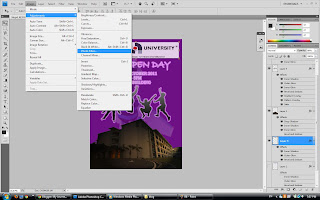
First, I planned to add some lighting effect into the building of e-wa
llpaper. Therefore, I click 'FILTER' ---> 'RENDER' ---> 'LIGHTING EFFECT'
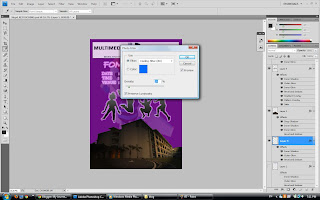
Adjust the components of lighting effect like INTENSITY, FOC
US, GLOSS, MATERIAL, EXPOSURE and AMBIENCE.
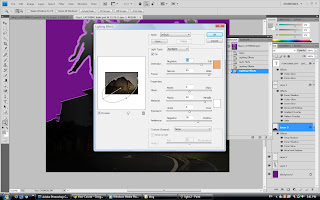
Select the light's colour that you prefer and click OK

The LIGHT of building is changed
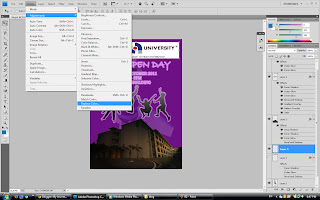
Next, I want to change the background colour of the MMU LOGO...=)
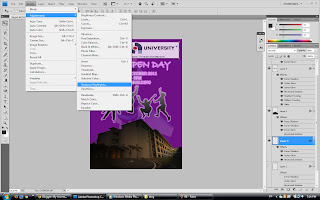
So, select the 'IMAGE' ---> 'ADJUSTMENT' ---> 'REPLACE COLOUR'
So, select the 'IMAGE' ---> 'ADJUSTMENT' ---> 'REPLACE COLOUR'
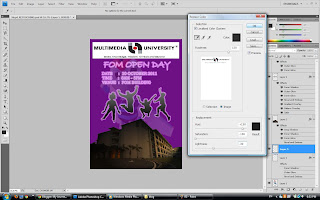
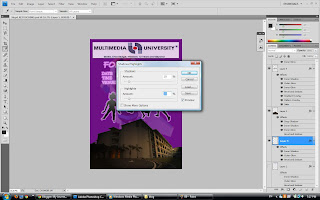
Adjust the 'HUE', 'SATURATION', and also the 'LIGHTNESS'
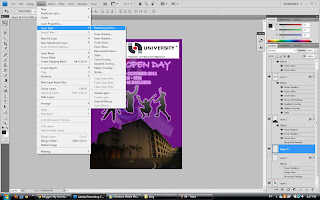
Besides that, I also change the layer style of MMU LOGO
Select the LAYER ---> LAYER STYLE ---> BLENDING OPTIONS
Select the LAYER ---> LAYER STYLE ---> BLENDING OPTIONS
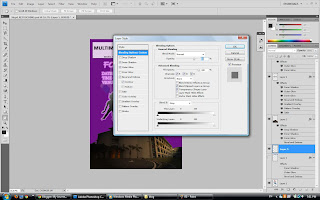
Add in some features like Inner Shadow, Outer Glow, Contour of Bevel and Emboss and also adjust the opacity to 80%
Select the IMAGE ---> ADJUSTMENT ---> PHOTO FILTER
Use the COOLING FILTER (80) and 10% of DENSITY
Other than that, add in some SHADOW/HIGHLIGHT by click the IMAGE ---> ADJUSTMENT
Adjust the amount of SHADOWS and HIGHLIGHTS into 10%
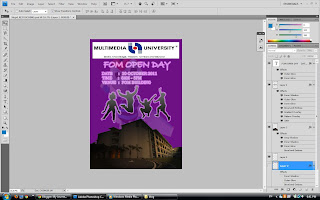
Finally, the process of RETOUCHING and ENHANCING are finished and also DONE!!!!
This is my latest E-WALLPAPER ^^
No comments:
Post a Comment