Hello guys~~~Im here to continue explain the next step of e-wallpaper which is called LAYERING.
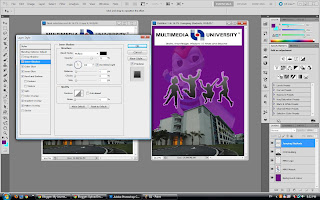
First of all, open a new A4 size paper and also the 5 images that I combined... Second, set the background colour of the e-wallpaper : click ' PAINT BUCKET TOOL ' ---> ' SET FOREGROUND COLOUR ' ---> 'OK'
I choose PURPLE colour as my background colour =)

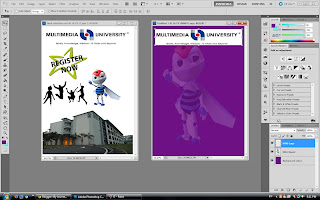
Third, drag the 'MMU Mascot' into the purple A4 paper
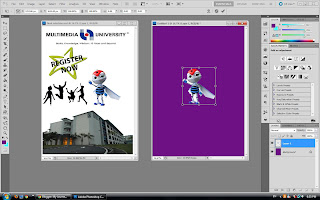 Enlarge the size of 'MMU Mascot' by press the 'SHIFT' and use mouse to enlarge the
size and
click ' ENTER' to make it look clearly
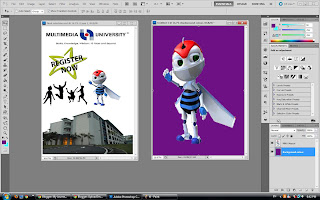
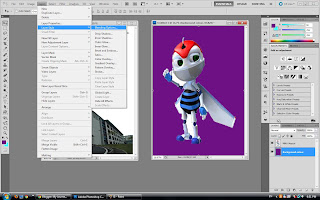
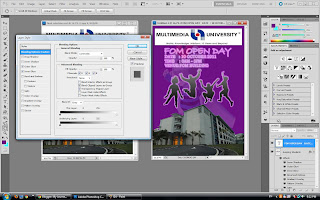
Click ' LAYER ' ---> ' LAYER STYLE' ---> ' BLENDING OPTION ' to adjust the
transparent of 'MMU Mascot' image
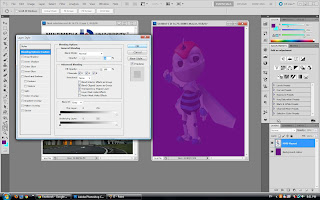
Adjust the 'OPACITY' to 40% with 'NORMAL' blend mode from the 'GENERAL BLENDING'
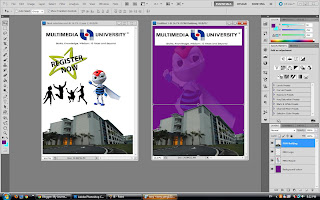
Fourth, drag the 'MMU logo' and place it at the top of the paper while 'FOM Building' at the bottom of paper
Fifth, drag the 'JUMPING STUDENTS' to the paper and enlarge it by using the s
ame method as mentioned at above
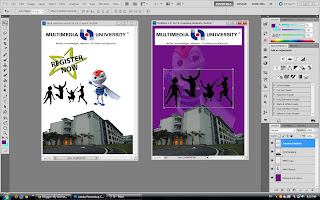
Sixth, go to the 'LAYER' ---> 'LAYER STYLE' ---> 'BLENDING OPTION' again....
I apply and edited 'INNER SHADOW, OUTER GLOW, INNER GLOW, BEVEL and EMBOSS, SATIN, GRADIENT OVERLAY and PATTERN OVERLAY' on the image.
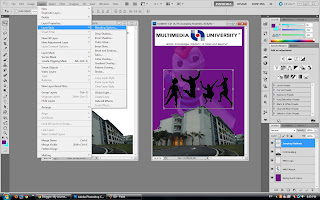
Seventh, using the 'HORIZONTAL TYPE TOOL (T)' to type out the info of 'FOM OPEN DAY'
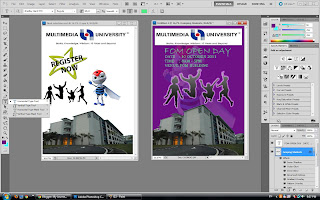
Edited the 'OUTER GLOW and INNER GLOW' from the 'LAYER STYLE'
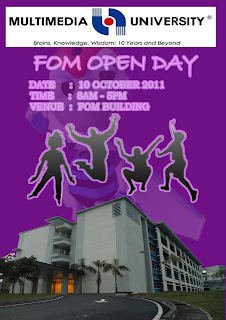
This is the outcome of my E-wallpaper for step 3....=)
No comments:
Post a Comment