I'm here going to update about the fifth step of Assignment 1 which is called Advanced Layering.
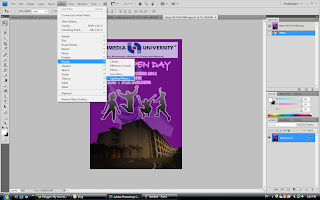
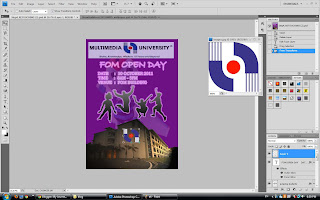
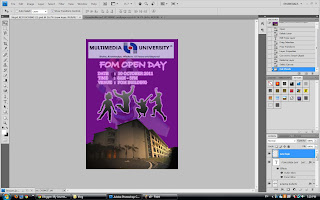
This is my last edited e-wallpaper which done by last week.

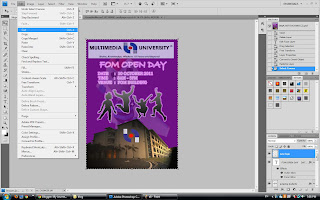
By the way, since I felt that the colour of the building is quite dark. Therefore, i planned to change the light effect of building.
First of all, click FILTER ---> RENDER ---> LIGHTING EFFECT
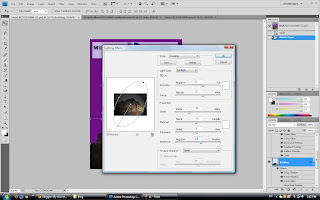
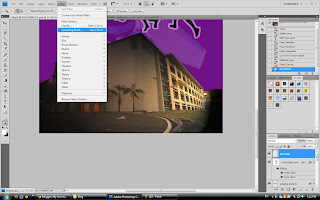
Select the CROSSING style of lighting effect and also adjust their properties
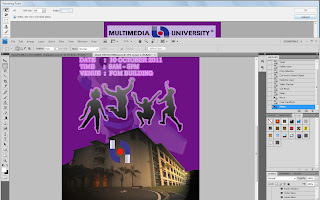
This is the outcome of the adjusted lighting effect of building
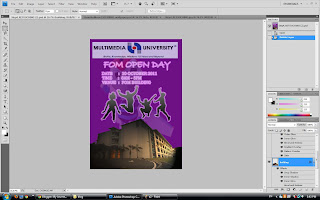
Besides that, we also can edit the e-wallpaper by using the vanishing point.
For example, I want to add a MMU LOGO and paste it onto the FOM building. Below are the steps of vanishing point. Before that, I use QUICK SELECTION TOOL to cut the MMU logo and drag it into the e-wallpaper.
For example, I want to add a MMU LOGO and paste it onto the FOM building. Below are the steps of vanishing point. Before that, I use QUICK SELECTION TOOL to cut the MMU logo and drag it into the e-wallpaper.
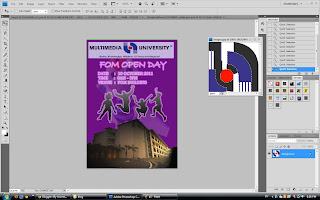
Right click the new MMU logo from the layer panel and select 'Convert to Smart Object'
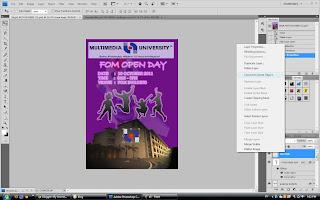
Right click the new MMU logo from the layer panel again and click the 'Rasterize Layer'
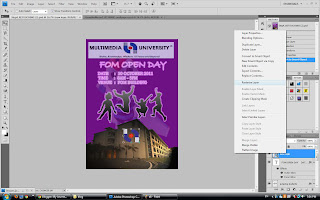
Then click the SELECT ---> ALL
Click EDIT ---> CUT
After 'CUT' it, the new MMU logo will disappear!!!
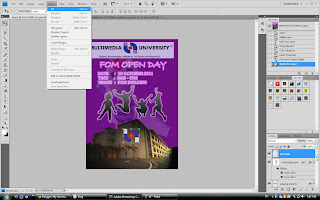
Zoom in the building and click FILTER ---> VANISHING POINT
Use the point to select the building's part that you want and click 'OK'
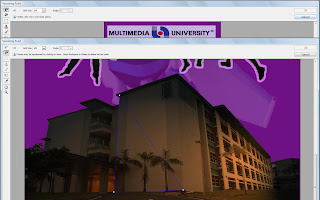

Press Ctrl+V (Windows) or Command+V (Mac OS) to paste the logo onto the
perspective plane, and drag it into position on the front of the building

Press Ctrl+T (Windows) or Command+T (Mac OS) to access the free transform
handles. Drag the handles to adjust the logo so that it matches the perspective of the building.

You may also press the Alt (Windows) or Option (Mac OS) key, and drag a cloned copy of the
logo directly upwards and onto the top of the box.
Even thought this is add some effect on the FOM building, but at last i chose not to put it on my e-wallpaper because it look not very match it....xDDDD
Between, this is my final e-wallpaper for this assignment. =)))

No comments:
Post a Comment